How To Configure Your POS Options
This Help Topic will guide you through the steps involved in configuring a Point of Sale (POS) Option in your Skyware Systems set up. It is the Point of Sale (POS) Option commands on the Point of Sale (POS) Configuration menu that allows you to add or edit Point of Sale (POS) Options from the system. See Point of Sale (POS) Configuration Menu Overview.
Point of Sale (POS) Options appropriate for configuration are your Outlet(s), Meal periods or Time Periods, Display categories or Pick categories, Preparations, Modifiers, and Kitchen stations. Upon Skyware Systems Installation, much configuration will have already been performed for you, however you may wish to change some at a later date.
Note: You can configure your available Outlet options as you like, but you cannot add to the number of spots/machines you use without altering your contract with Skyware Systems so please contact us if this is what you wish to do.
1. For adding or configuring a Point of Sale (POS) Option, you will need the Point of Sale (POS) Configuration menu.
 (To reach this menu:)
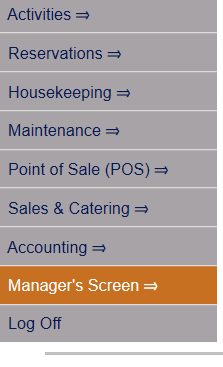
Log In.
From the quick menu (left) choose Manager's Screen to be taken to the MANAGER'S COMMANDS screen.
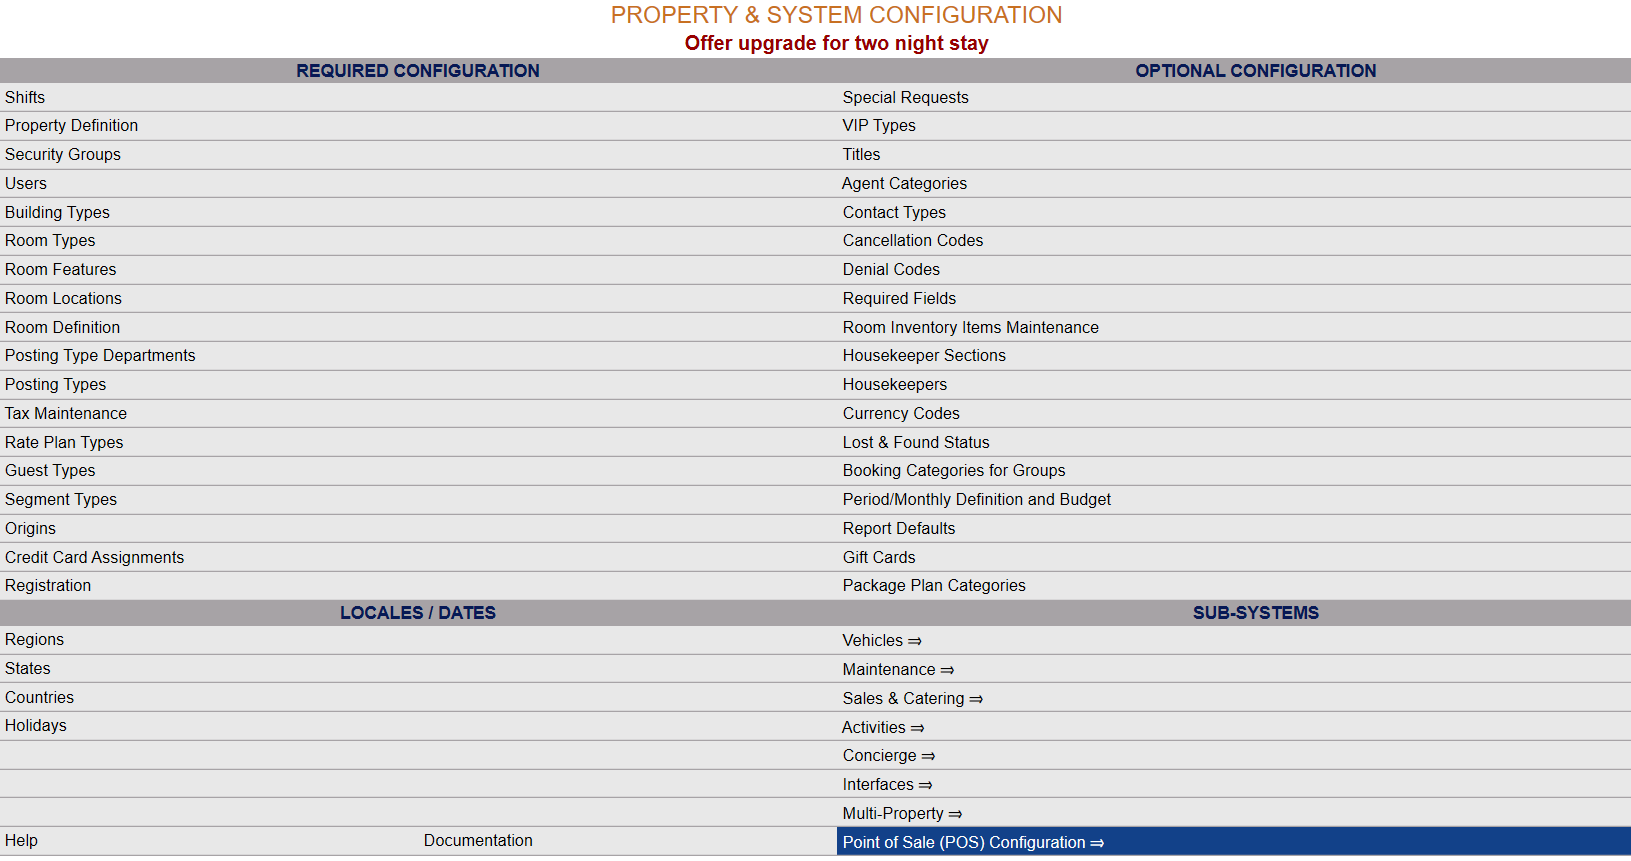
Select Configuration to be taken to the PROPERTY AND SYSTEM CONFIGURATION screen.
Select Point of Sale (POS) Configuration from the Sub-Systems area of the screen.
This will take you to the POINT OF SALE (POS) CONFIGURATION menu screen.
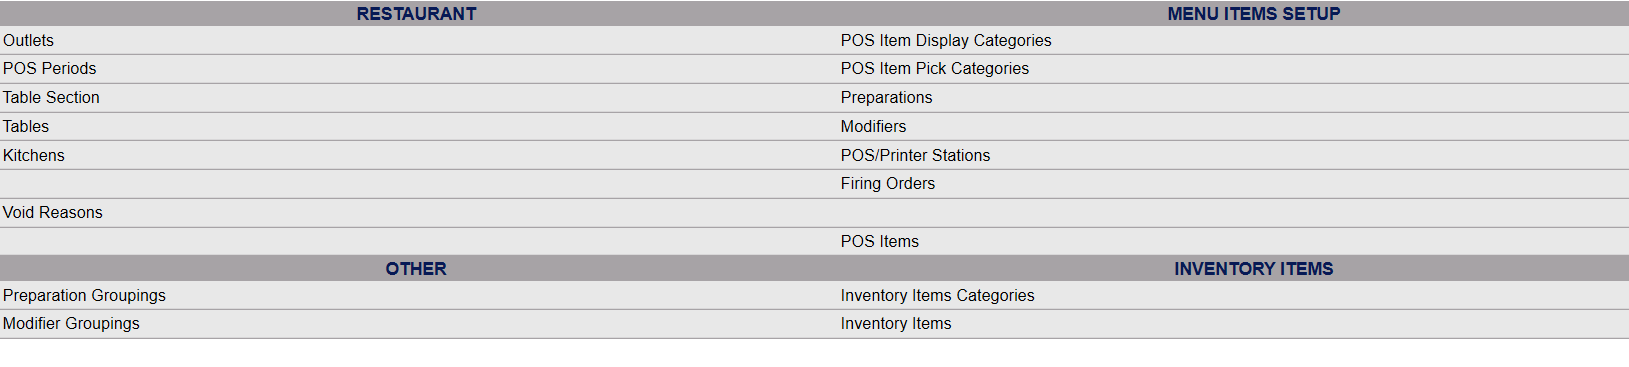
This is the Point of Sale (POS) maintenance area, and each entry can be selected for viewing or further configuration. Point of Sale (POS) Configuration area commands are divided into four sections:
Restaurants, Menu Items Setup, Other and Inventory Items.
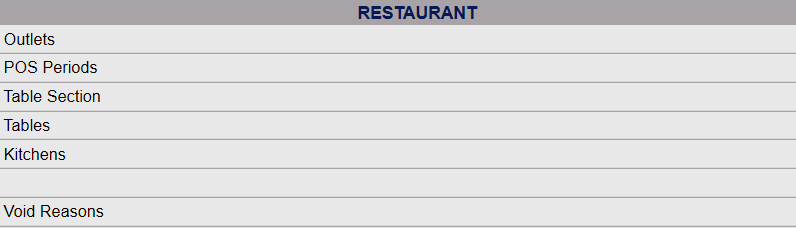
2. From the Point of Sale (POS) Configuration menu, select the POS Option that you wish to configure from the available list in the Restaurant region.
Your options include:
a. Outlets: Allows you to add (and remove) restaurants, cafes, or other service areas of the property. See alsoConfigure Outlets for Point of Sale (POS).
b. POS Periods: Allows you to add and configure meal periods or other options for the outlets in your system. These can include the standard Breakfast, Lunch and Dinner, Sunday Brunch or Happy Hour, or whatever other periods apply.
Point of Sale (POS) Periods allow you to identify certain menu items with specific Point of Sale (POS) periods. For example, your breakfast menu may differ from your lunch or dinner menu, or the choices for your Sunday Brunch may be completely different than your normal breakfast menu.
NOTE: You configure ONE set of Meal Periods (or Time Periods) for ALL of your outlets. Later, when you configure your Menu Items, you associate each with one or more outlets and one or more Point of Sale (POS) Periods. It is this combination that provides the proper menu item listing in the Point of Sale (POS) interface. It is up to the staff to select the appropriate Point of Sale (POS) Period for the outlet they select when creating a check. See also Configure Meal Periods for POS.
c. Table Section: Allows you to provide divisions in your outlets to contain a subset of tables. This allows staff to more easily find the table they need when opening a check.
If the outlet has very few tables, or is another type of service that does not have checks associated with specific tables, you can simply create an "All" or other generic section for that outlet. Even if you have numbered and assigned tables, if there are not many of them, you may choose to simply use a generic section name instead of assigning tables to different sections. See also Configure Table Section for POS.
Each table section you create is associated with a specific outlet. When you create tables, you will associate them with a table section.
d. Tables: Allows you to identify each table in any outlet, and associate each with a Table Section. Staff will select a table when opening a check. See also Configure Tables for Point of Sale (POS).
Each table you create is associated with a specific Table Section. The Table Sections are associated with each outlet.
e. Kitchens: Allows you to associate an outlet with a particular kitchen. This is important if you have multiple kitchens, especially if each kitchen provides different menu options. For example, you can have a Bar kitchen station configured, and then associate all beer or wine or other beverages with the Bar station. This allows the system to send the beverage order to the bar printer, so that the bartender can fill the order and have it waiting for the staff to pick up. See also Configure Kitchens for Point of Sale (POS).
NOTE: Kitchen stations are not required for the system. You do not need to configure these if they do not apply to your restaurant(s). However, if you are using kitchen stations, like the other Point of Sale (POS) item setup options, all available kitchen stations for all restaurants must be added to this list. You will associate the stations with specific menu items when you configure the POS Items for the system. See also How To Configure a Point of Sale (POS) Item.
f. Void Reasons: Allows you a way of keeping track of wastage and you will be able to identify menu items or other areas that may be costing you. Void reasons allows you to track why, who and when comps and voids happen. See also Configure Void Reasons.
3. Once you have made your selection, you will be taken to the Maintenance screen for that option. The screen display is split into two frames, with the left side of the screen listing any already configured options for the property and the right side containing the fields you need to complete in order to add or configure an option for the property.
Your options include the following:
a. Click the New  button from the local toolbar on the right to Generate a new entry.Complete the fields.
b. Select an existing option from the list on the left by clicking on it. This will display it on the right, and then you can Edit the current selection. Change the field information as desired.
c. Select an existing option from the list on the left, and click the Replicate  button from the toolbar on the right. Then change the field information.
Depending on which option you have chosen, the fields you need to complete will vary.
(Please see the specific Help Topic for that Option (Outlets, Meal Period or Time Period, Table Section, Tables, Kitchens or Void Reasons) for the full details of these fields).
NOTE: Because each configuration option relies on other configurations being completed first, when configuring the Point of Sale (POS) system, you should begin by performing each configuration option in the order they appear on the menu. You can however always go back and add or edit configurations if necessary later.
4. When you are finished editing the information fields, click the Save  button to save the changes.
Any changes made on the right, once saved, will be updated in the listings to the left.
5. To view any changes made, click the Activity log  button in the local tool bar.
Note: Once an option has been added to the list on the left, it will remain in the list (cannot be deleted) if there has been any checks created using it. Once a check is created, it exists in several places in the system, and therefore there cannot be a check for somewhere that does not exist.
Date Updated October 29, 2025